upload video
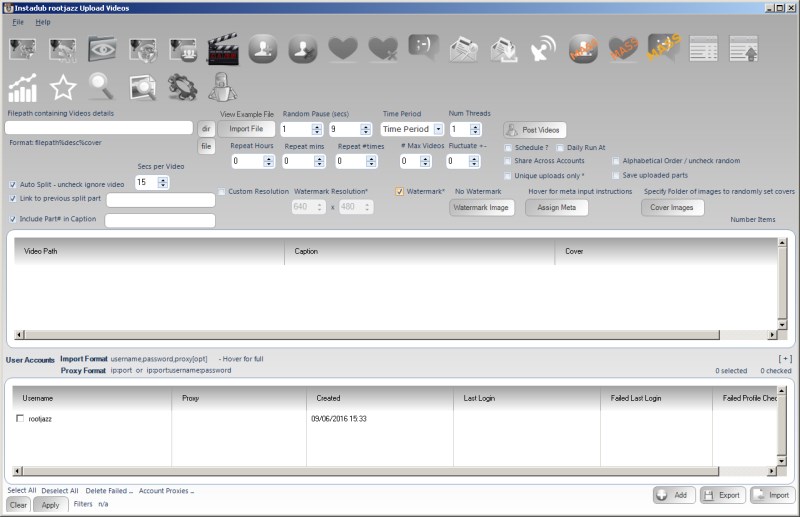
InstaDub allows you to upload video to Instgram. Due to the limits on how the videos can be uploaded, Instadub can help you out by cutting the video into chunks and linking them in the captions, watermarking the video with your logo / website URL and even use a frame from the video as your cover image.
Loading Videos into Instadub
To specify the videos to upload you enter a directory containing your videos, or enter the file path of a meta file that will specify the file paths and meta values for each video.
Meta File
The meta file should be formated as: filepath % caption % cover image path
Where the caption and cover image are optional
Load From Directory
Specifying a directory that contains your videos, if for each video file there exists an image file with the same exact filename as the video it will be used as the cover image, if there is a text file with the same filename the contents will be set as the caption. Eg.
For the video file: instadub-promo-video-tutorial.mp4
The caption file would be: instadub-promo-video-tutorial.txt
The cover image would be: instadub-promo-video-tutorial.jpeg
Assign Meta
If the captions of your videos have not been set in one of the above methods, you can use the standard InstaDub assign meta control. It works the same as the Upload Images tab
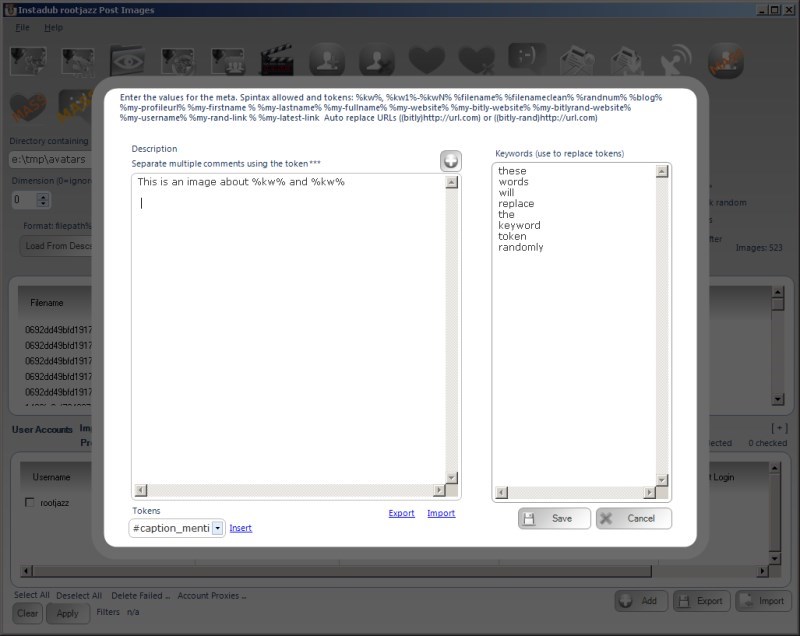
Click the ASSIGN META button to view the Meta Generation form. The box on the left is your caption and the box on the right is for your keywords. The box is spintax compliant and allows you to use the %kw% token. This token will be replaced by a random keyword that you specify in the keywords box on the right (one keyword per line). A random caption will be generated for each video
Cover Images
This option allows you to specify a folder of images where one will be selected at random for each video that requires a cover image
Standard Search Action Parameters
Random Pause:
Specify a minimum and maximum value, after actioning an item the action will pause for a random amount between the specified minimum and maximum values.
Max Actions / Max items:
The number of items to process within the action.
Fluctuate +-:
If you are repeating your action, you may not want to action on the the same number of items each action (avoiding footprints, so you can fluctuate the number of items to perform. If you specify 100 Max Actions and a Fluctuate value of 10. Then your action will random perform 90-110 items (100 +/- 10)
Time period:
The time period control will pre-populate the random pause values based on the MAX ACTIONS value that will be calculated at actioning the items evenly over the specified time period. For example, specify the action to have a Max Actions value of 100 and set Time Period to 1 day. That means, do 100 items over 24 hours, thus the random pause will be calculated at 864 seconds.
Repeat Hours:
Once the action has completed, wait the specified hours then repeat. Set it to 24 to repeat every day, set it to 12 to repeat twice a day etc
Repeat Mins:
The same as hours, but minutes, a finer grained control of how to repeat your action
Repeat # times:
The action will only repeat the specified number of times. For example, repeat every 24 hours (once a day), Repeat #Times = 7, thus repeat every day for a week then stop and do not repeat any more.
Max Repeats Daily:
This value will limit the number of repeats your action can do in a 24 hour period. Perhaps you are waiting to repeat your action in quick succession during certain hours, perhaps you want to repeat your action every 15 minutes between the hours of 1700 and 2000. Thus you can specify to repeat your action every 15 minutes with a Max Repeats Daily of 12 (1700,1715,1730,1745,1800,1815,1830,1845,1900,1915,1930,1945)
Schedule / Daily Runner
Using the schedule control you can specify when your action should run. The other scheduling option is Daily Runner. This will make sure the action runs at the same time every day. eg. Daily Runner 2pm. At 2pm (14:00) the action will start, then on completion schedule itself for 2pm / 1400 the next day
Unique Items Per Account
This option will ensure you do not reprocess the same items. So if you are performing a follow action, once you have followed an account you will never follow that account again, even if you have unfollowed them since. This also works for items processed by other accounts within a Share across accounts action and any items logged in a global processed log (for information on global processed logs, please see the revelevant section)
Save Uploaded Parts
If your video had to be split, save the split parts. In case you want to reuse or whatever
Watermark
InstaDub gives you the option of adding an image (a water mark) to the bottom right of your video. Please note, you MUST specify an image SMALLER than the video, it is up to you to ensure your image is valid and doesn't break everything
If applying a watermark, you now have the additional option of setting a Custom Resolution of the video (changing it's size). Do be aware, doing so could break the proportions of your video making it look wrong, again it is up to you to make sure the custom resolution is proportionally the same as the originally (unless a strange looking video is what you want...)
Auto Splitting your Video
If you want InstaDub to attempt to split your videos, check the box. Otherwise, videos will either be rejected for upload or just fail. When splitting there are a few options to specify:
Secs Per Video
Here you specify the maximum seconds per video. The limit used to be 15, now Instagram say it is a minute, regardless you can limit the length of the videos to be what you want. Perhaps you have noticed users only watch about the first 10 seconds of the video, so you will split your video into 10 second chunks and post a part every 30 minutes... the possibilities are, as always limitless!
Link to previous Split part
Instadub can include a link to the previous video part. So if you are uploading part 3, you can include a link to part2 via the token %prevurl% and reference the part number via the token: #prev#
Previous Part: %prev% here #prevurl#
NOTE:
Tokens can be specified using # or % notation, so #prev# is the same as %prev%
Include Part# in Caption
This is a text snippet that will appear above the caption and can be used to detail what part of the video series is the current video. Tokens here are: #current#
Part: #current#